Create Geofences and Receiving Geofence Alerts
The following are step by step instructions on how to create Geo-Fences and receive alerts when a geo-fence is entered or exited.
- Log into the Administration Portal
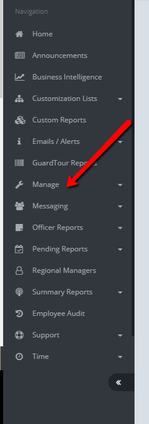
- Click on Manage
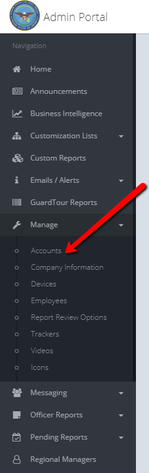
- Click on Accounts
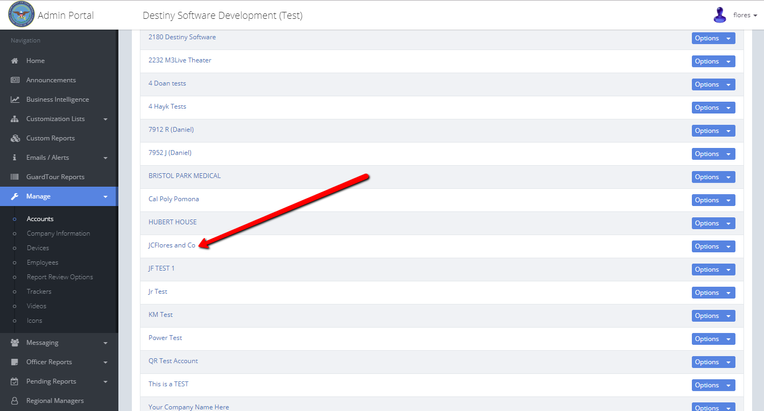
- Find the account that you want to work on and click on the account name
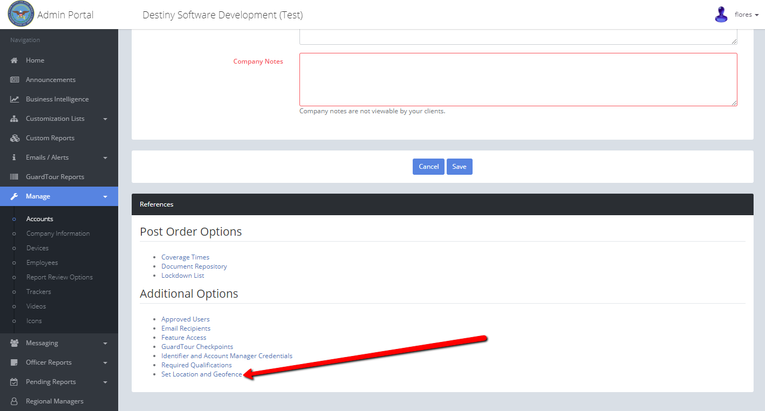
- Scroll down to the Additional Options section and click on the Set Location and Geo-fence link
- When the page opens click on the blue Set From Address button
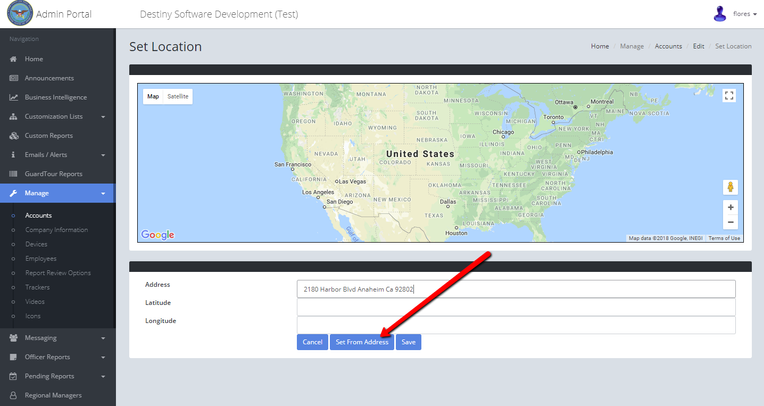
- The system will determine the GPS location by using the address you provided on the account detail page and place a red GPS marker on the map at that location. Using the zoom in + or out - buttons will allow you to make sure that the GPS marker is in the correct location. If the marker is not in the correct location you have the ability to click on the map and move the marker where you want, as you will see below.
- Once you are satisfied with the location of the marker click the Save button
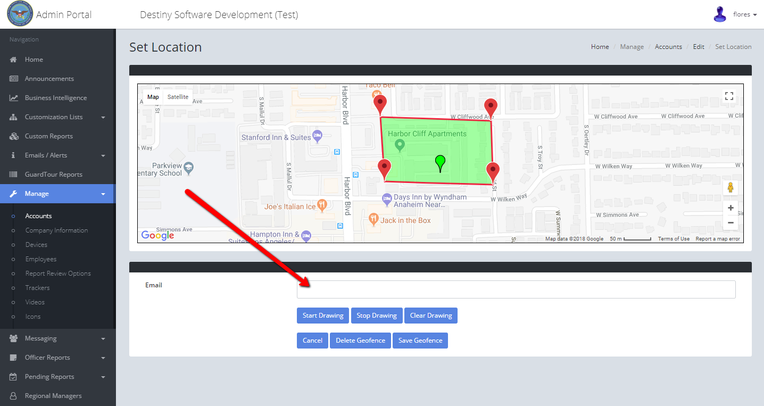
- On the following page, you will notice that the GPS marker is now green and in the location that you selected
- To start creating the geo-fence around the property click on the Start Drawing button than click on the map where you want the perimeter of the geo-fence located. Click on the Stop Drawing button to complete the geo-fence, see below:
- Geo-fence alert email will be sent to the email addresses placed in the Email data filed, see below:
, multiple selections available,