 Setting up the Client Portal is a two step process. The first step is creating credentials for the Account Manager.
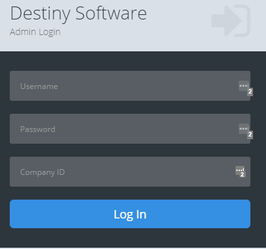
- Log into the Administration Portal
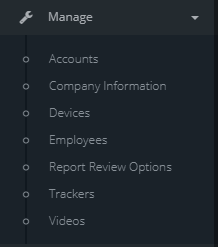
- Click on "Manage" then "Account" in the navigation bar on the left
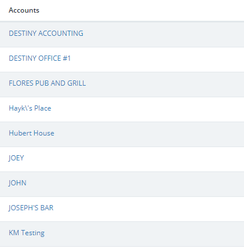
- Find the account you want to work with and click on the account name
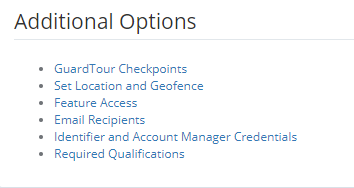
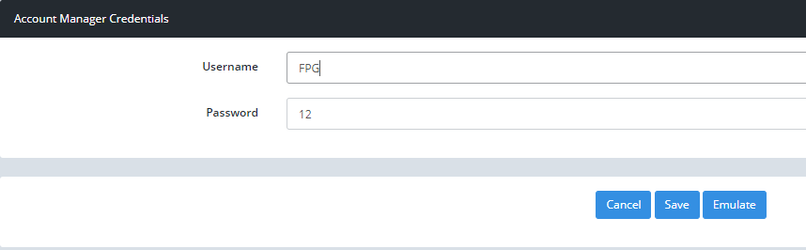
- When the account detail page opens, scroll down to the Additional Options section and click on "Identifier and Account Manager Credentials"
- When the page opens create a username and password for the Account Manager, click "Save" you will be taken back to the account detail page
The Account Manager credentials you just created would typically be issued to a regional manager or senior property manager for the account. The Account Manager has the ability to create credentials for other staff that may need to have access to the Client Portal. The second step is setting up admin credentials.
There are two ways to log into the Account Manager to create Admin credentials. The first is my emulating the Account Manager.
- Log into the Administration Portal
- Click on "Manage" then "Account" in the navigation bar on the left
- Find the account you want to work with and click on the account name
- When the account detail page opens, scroll down to the Additional Options section and click on "Identifier and Account Manager Credentials"
- When the "Identifier and Credentials" screen appears click on the "Emulate" button. The Account Manager page will appear.
The second way to create Admin credentials is to log in as the Account Manager.
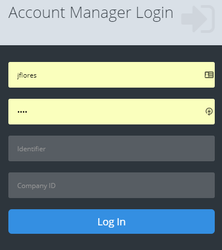
- Log into the Account Manager page.
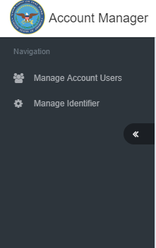
- Once the Account Manager page opens click on "Manage Account Users"
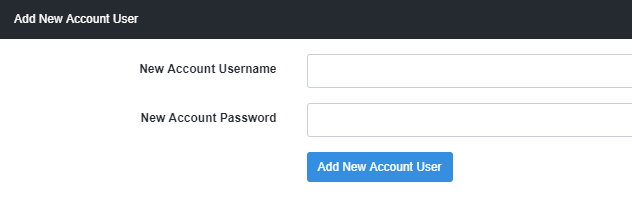
- Under the "Add New Account User" section create a username and password for the user. Click the blue "Add New Account User" button
The final step is to create an Identifier. The identifier is a secondary password that will be a common password for all admin users. The identifier will also be used in combination with our upcoming Parking Program.
To create the Identifier.
- Log into the Account Manager page.
- Click on Manage Identifier in the Navigation bar
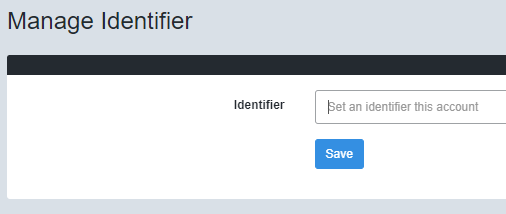
- In the Identifier data field type in the the identifier you wish to use. The identifier can be a word, number or combination of the two. The only thing to remember is that Special characters can not be used and the identifier is case sensitive.